My Photo
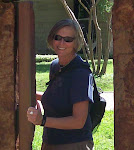
Barb at Hemis Fair Park San Antonio, TX
Sign My Guest Book! (click the pic)
Coach and toads
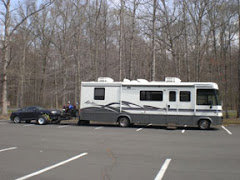
My home on wheels.

PHOTO GALLERY
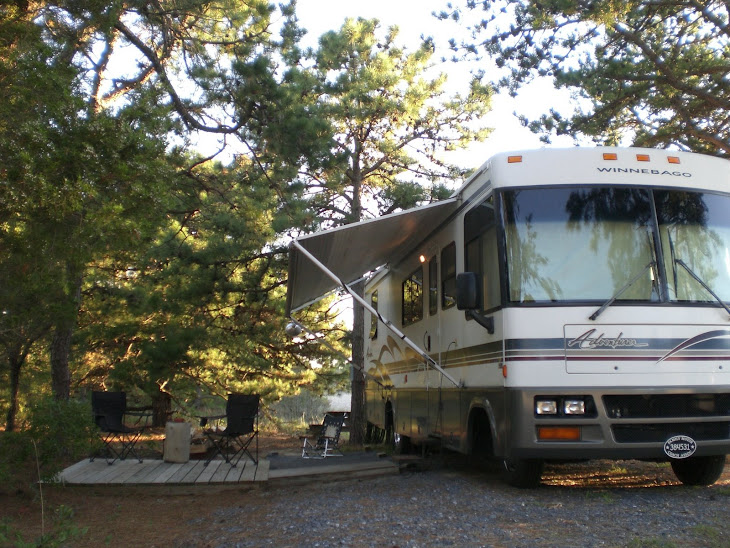
Nice and cozy tucked under the trees at youth camp CHSP
Henlopen Sunrise
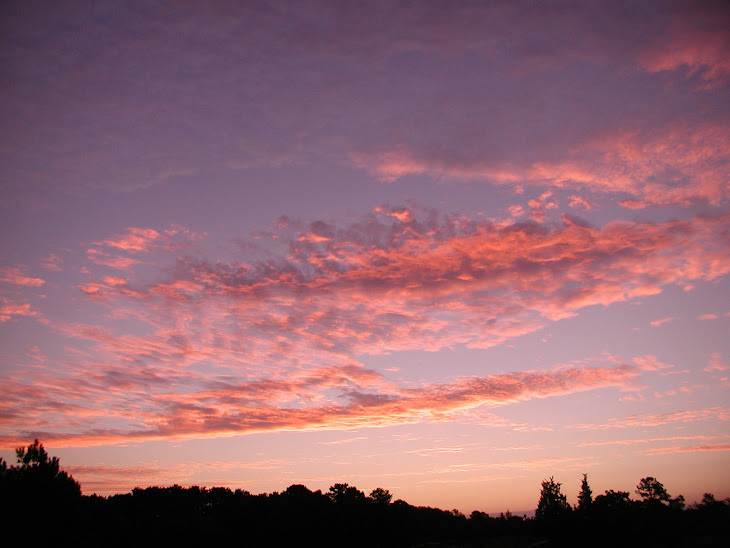
Cape Henlopen Sunrise looking east
Henlopen Sunrise
Cape Henlopen sunrise looking west
Henlopen Sunrise

Close up of sunrise looking west.
Jeep on the beach
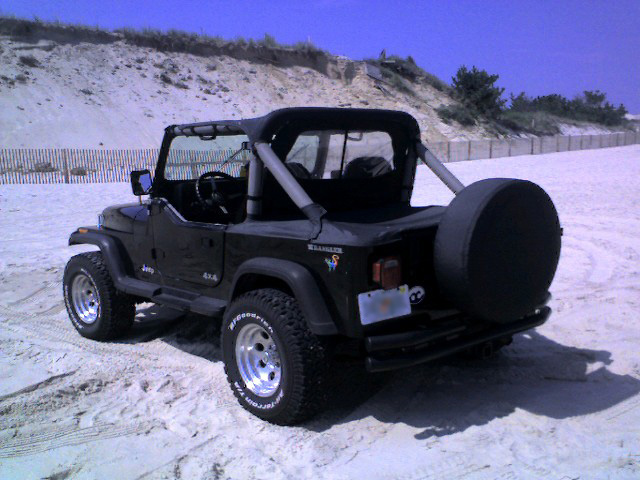
Jeep at Herring Point at CHSP
Lake Michigan
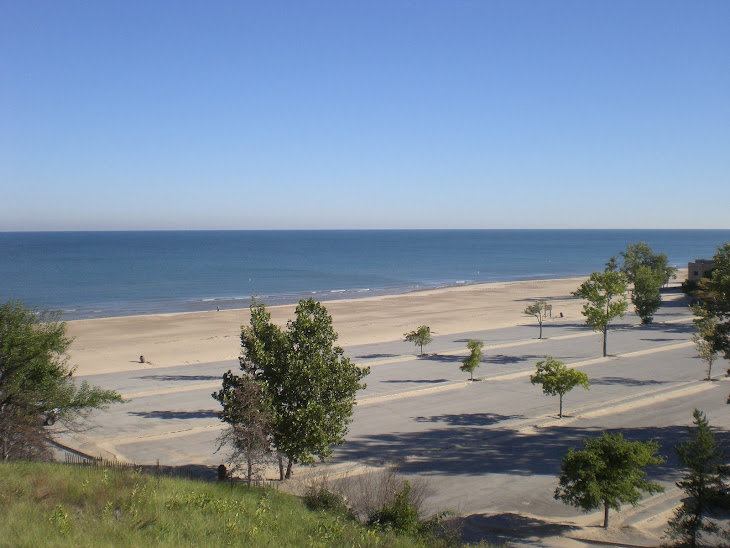
Indiana Dunes overlooking Lake Michigan
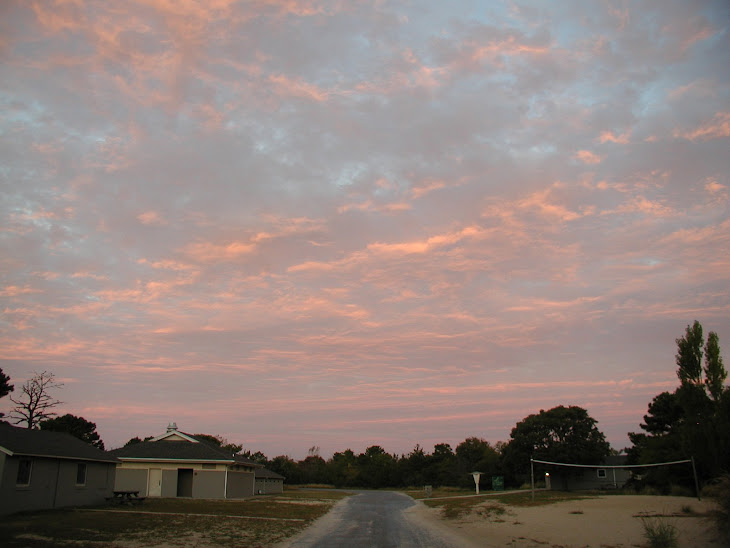
Sunset
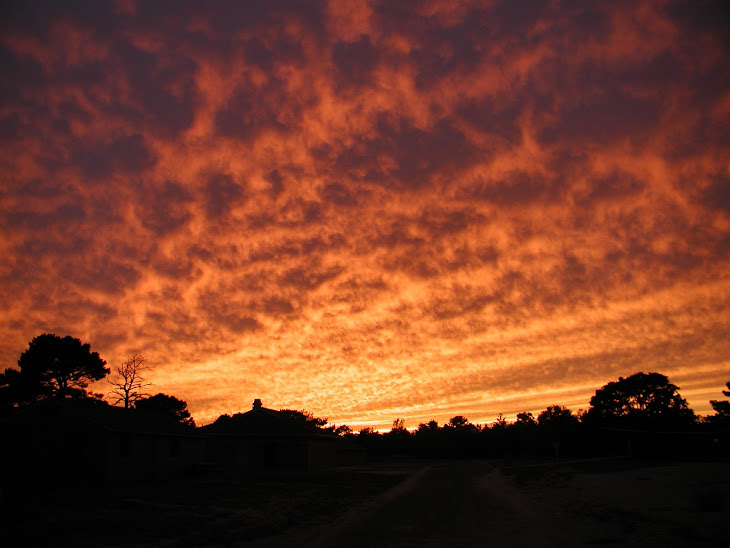
Sunset over youth camp, CHSP
Coach at campground
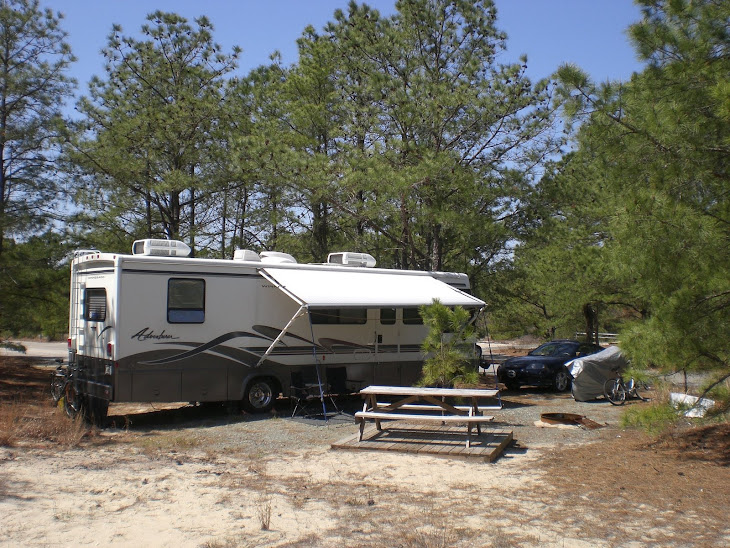
Cape Henlopen State Park Campground
Jeep on the Point

Parked at Cape Henlopen's Pilot Point. (Lighthouse in background.)
Bull Run Sunset

Setting sun over Bull Run Park
Baltimore Festival
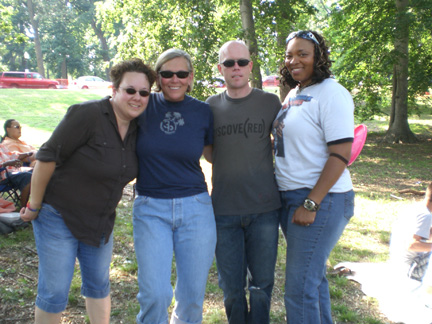
With friends in Baltimore, Hon!
Kalmar Nyckle
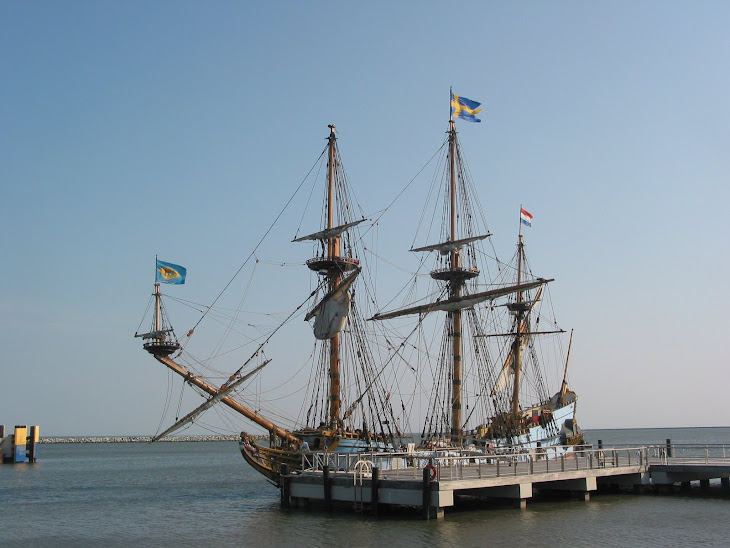
Delaware's Tall Ship
Winter snow at Bull Run Park
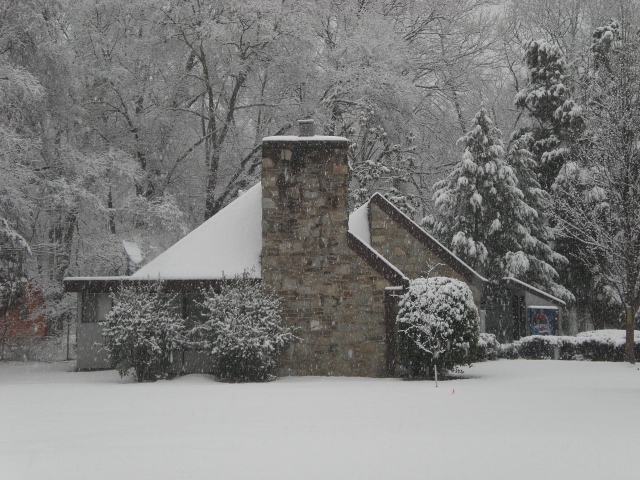
Postcard perfect - Camp Control at Bull Run
World War 2 Tower
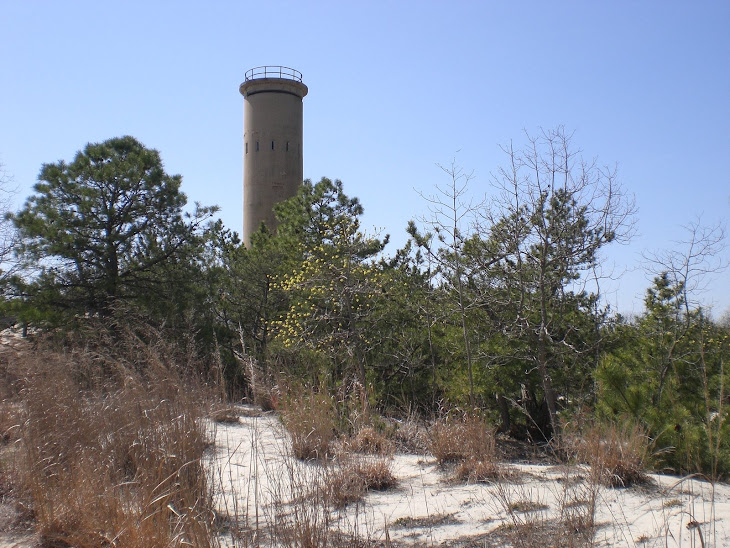
Tower in the dunes at Cape Henlopen State Park
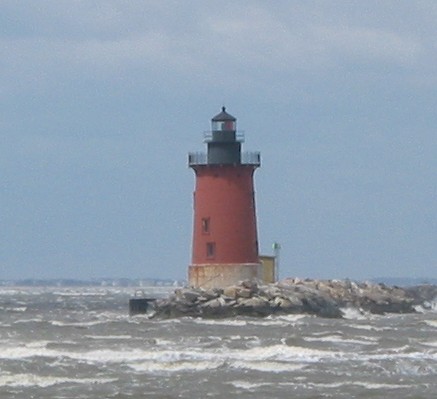
The Historic Lewes Light House